
Creating a Route with the EatSleepRIDE website
To create a Route manually you'll need to use the website. To create a Route automagically, simply record your trip using the ESR app and select create Route.
Whether you create the Route manually using the website or automagically using the ESR app, you'll see the Route in Me > Routes.
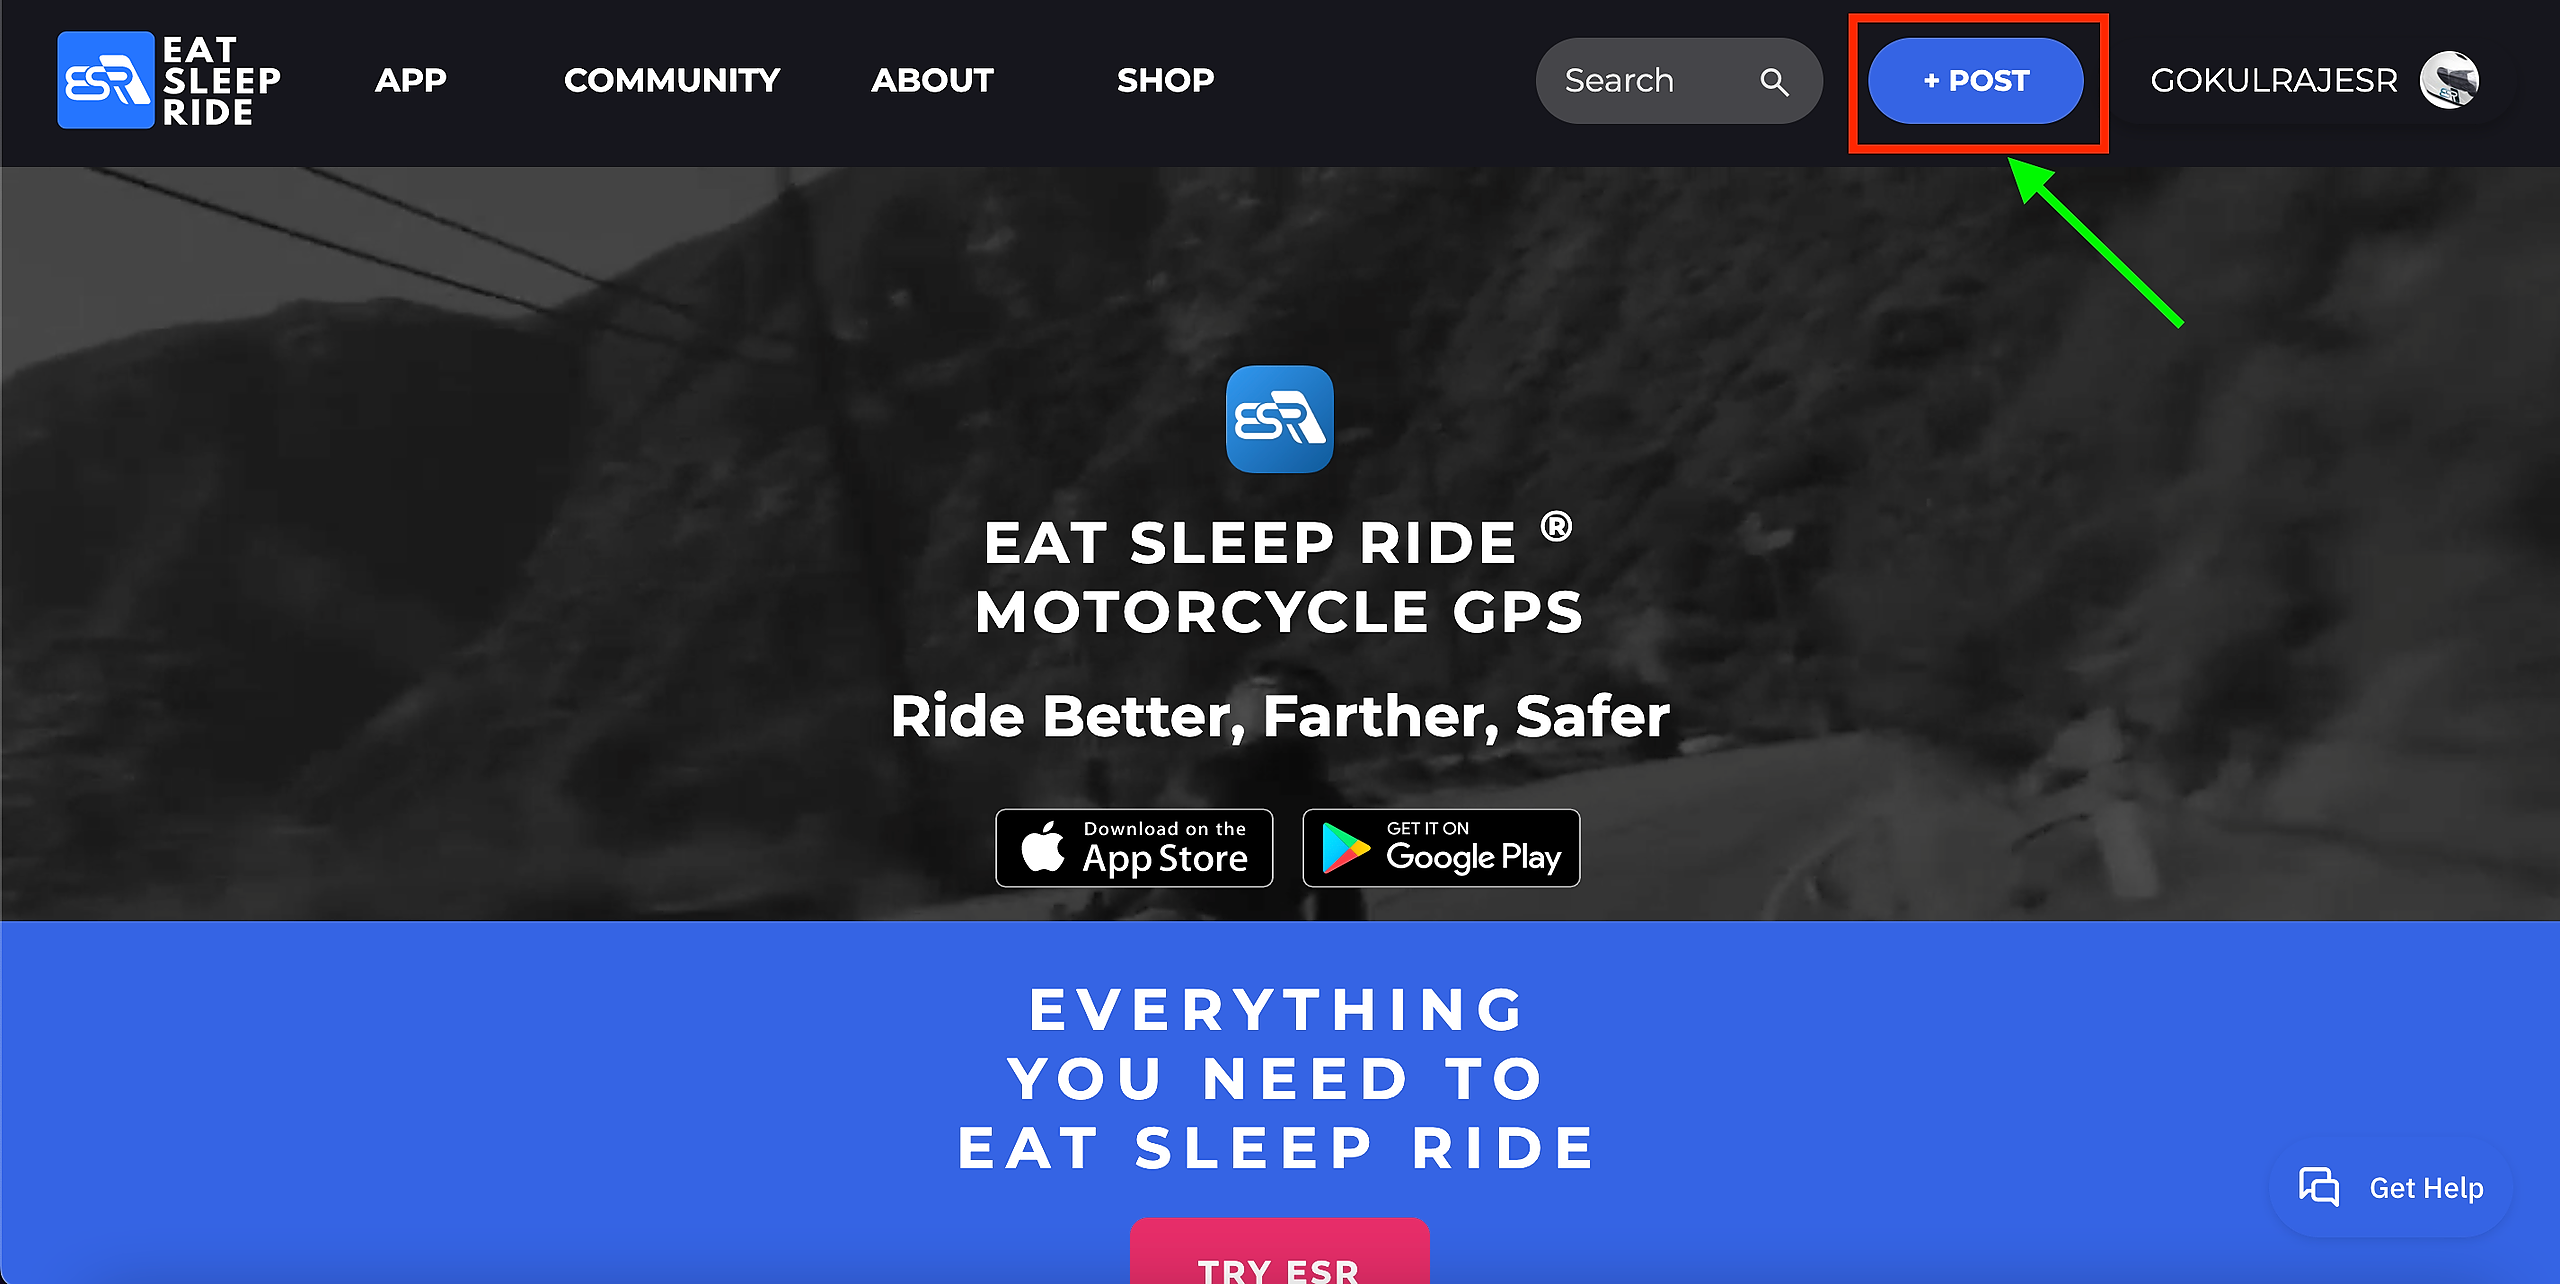
Head on over to https://EatSleepRIDE.com, select the +Post button at the top right of the page or take this short cut https://eatsleepride.com/create
Tips
- If you don't see a map on the page, you must allow ESR to access your location
- Once you've uploaded your Route you can download it as a GPX file, which can be used on any device
- Once you've placed waypoints, you can move them around very easily by selecting them and dragging them around to get them in the right place
- When you move waypoints they can change the shape of the Route
- You can't change the order of waypoints, in order to do this you have to delete and re-add points in the desired order
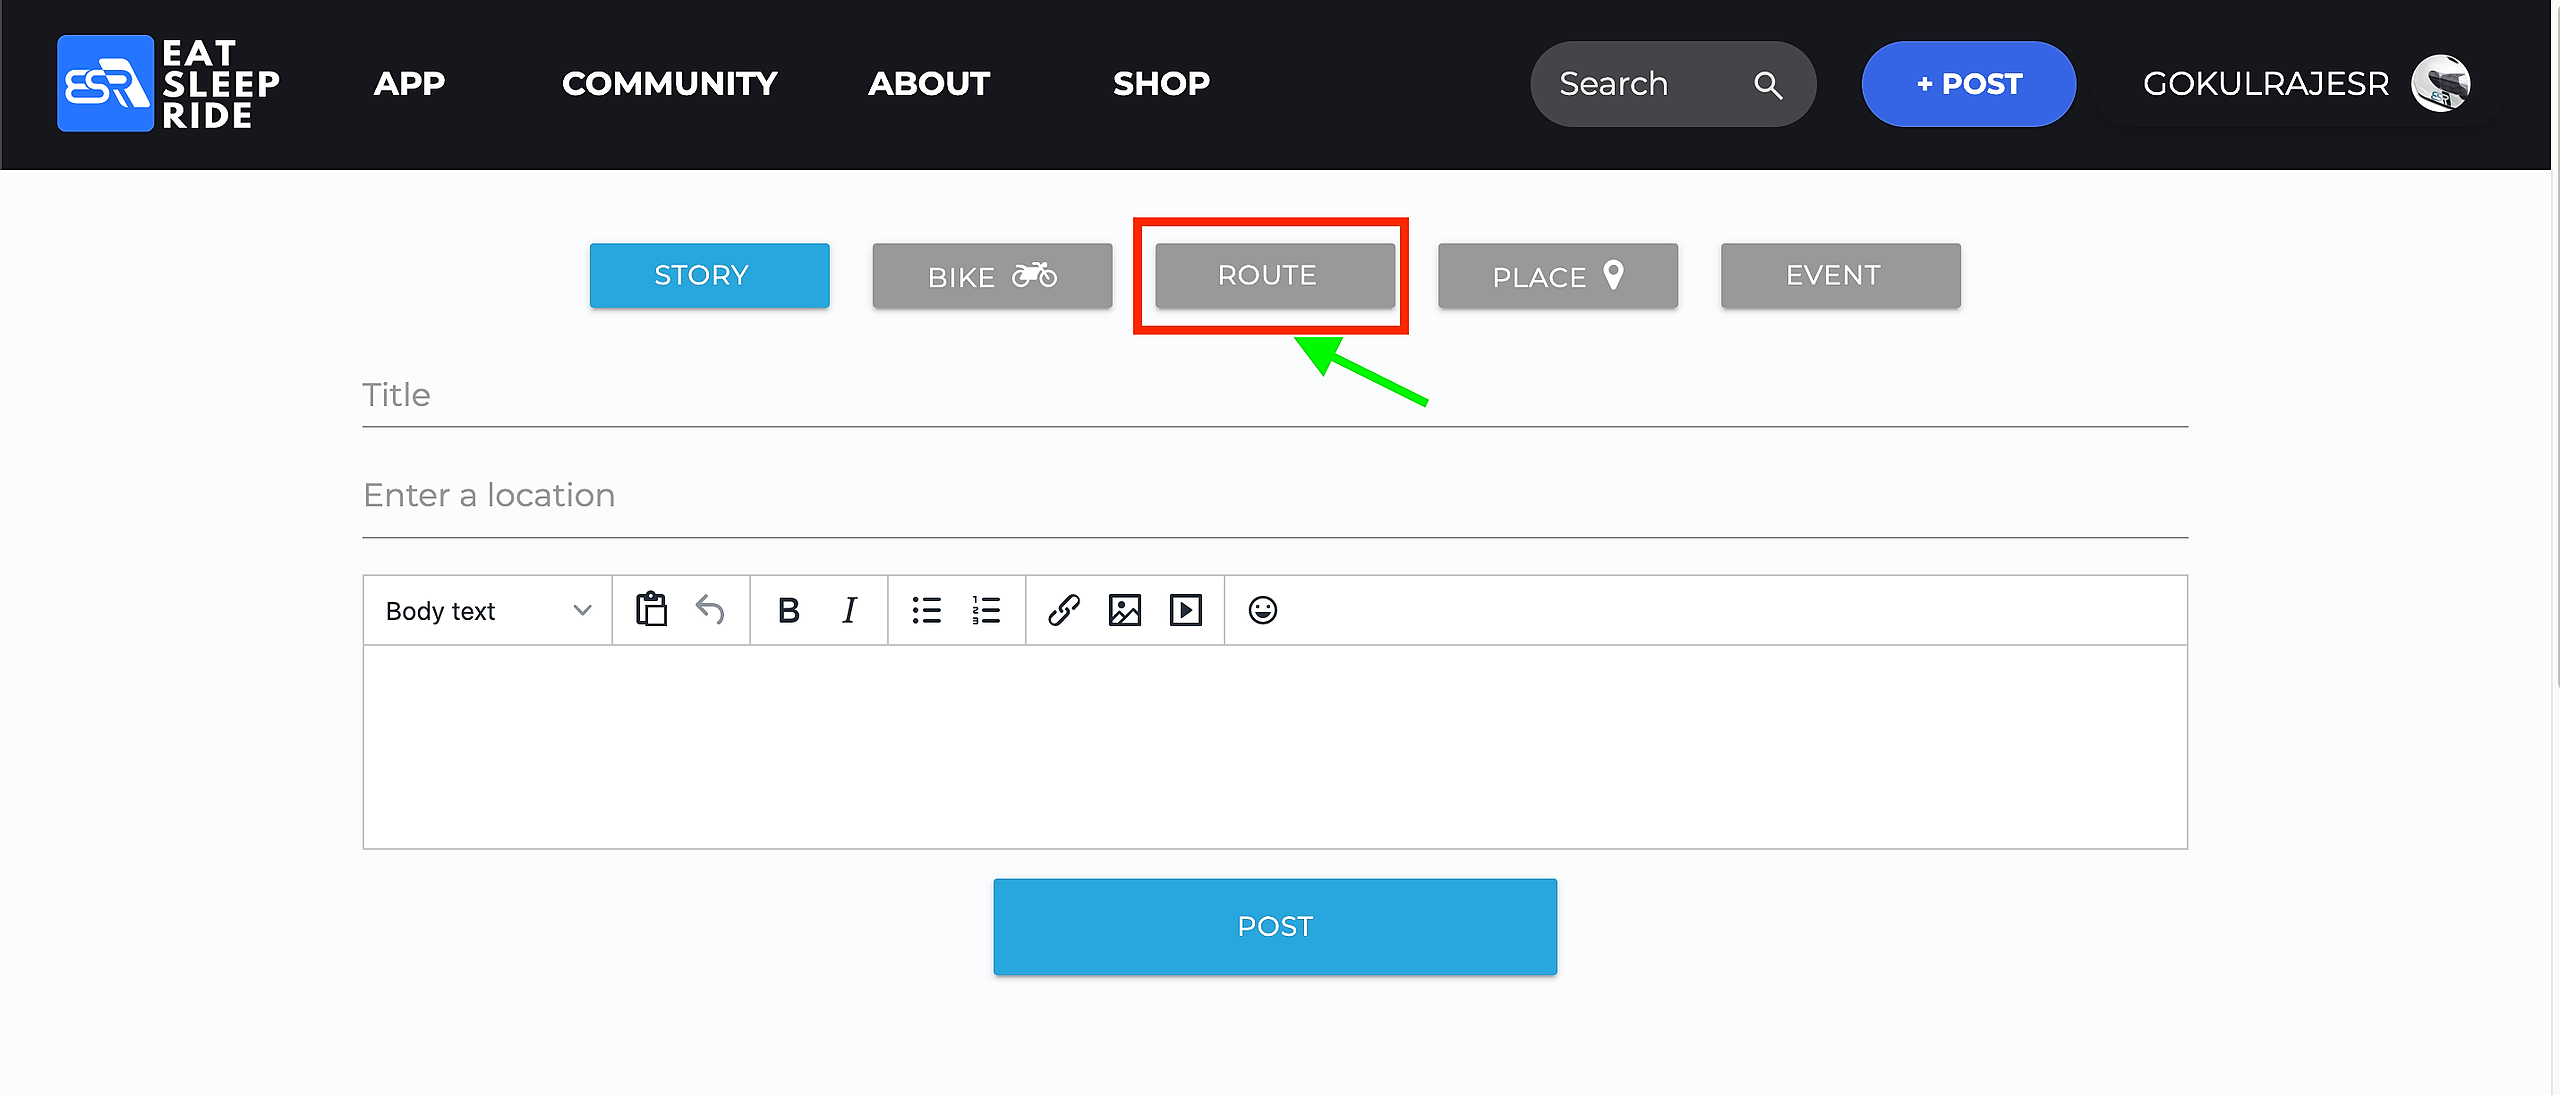
From here, select the "Route" button at the top of the screen
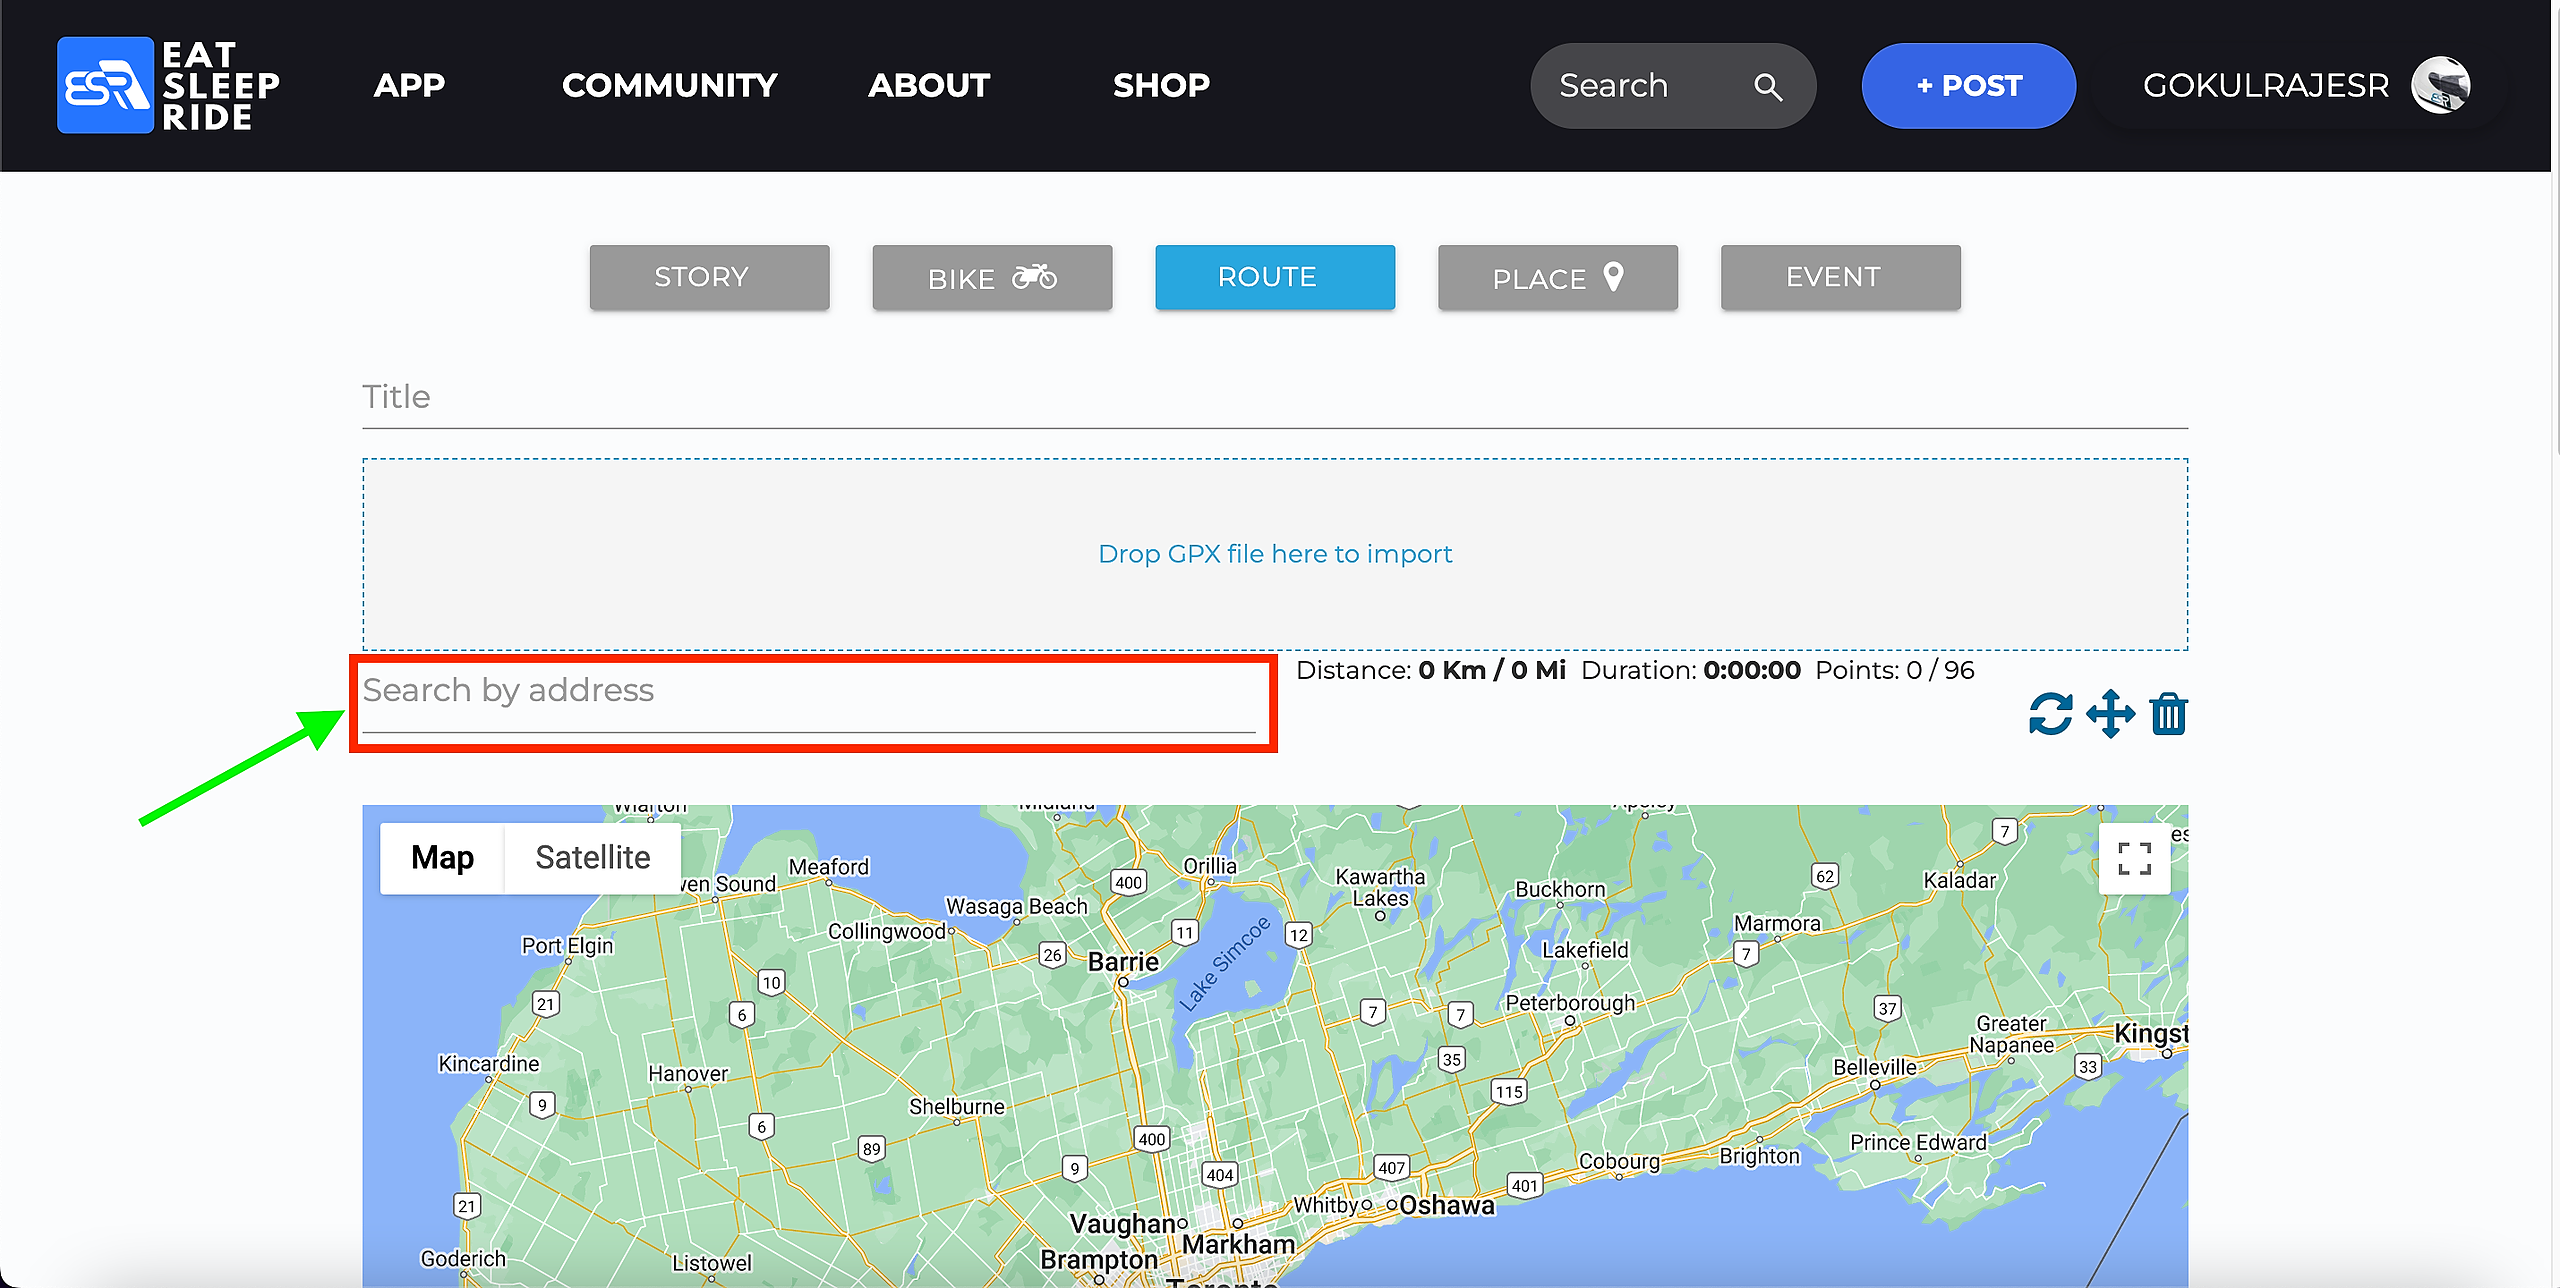
A screen with a map will appear. From here you can either import a GPX file or manually input a Route. To manually input a Route, find your starting location by typing the location or address into the box marked "search by address"
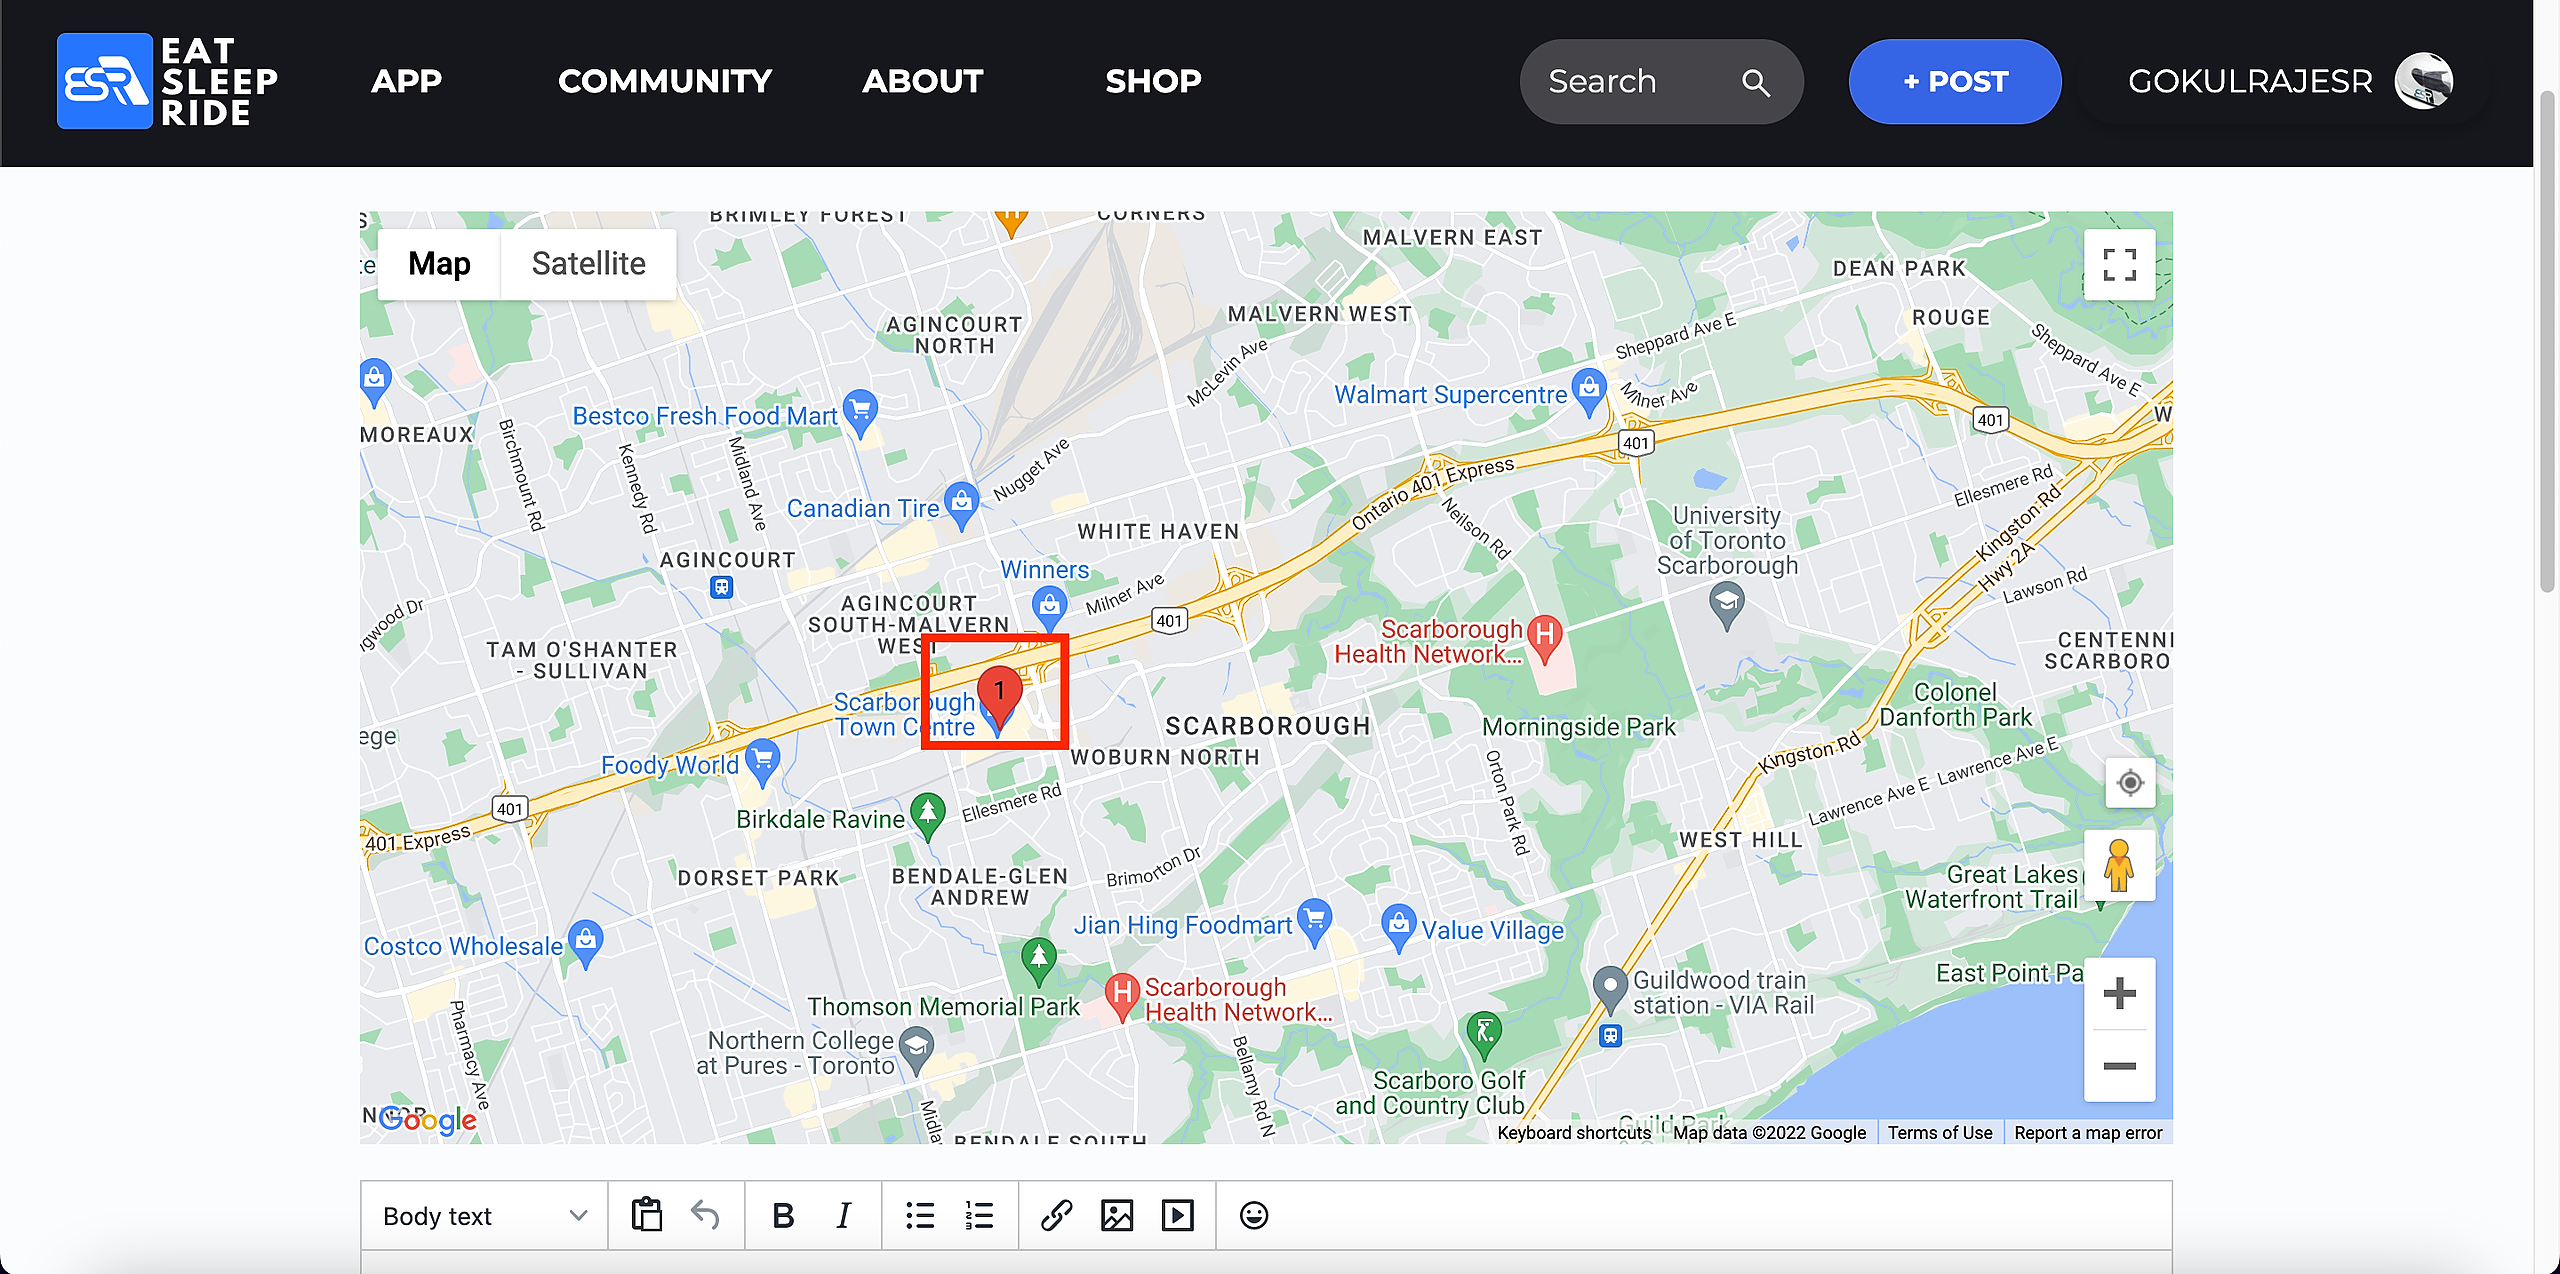
Doing so will place a point on the map at the location that was specified. If the point isn't quite in the right spot you can click and drag it around to move it to the exact place you want it in.
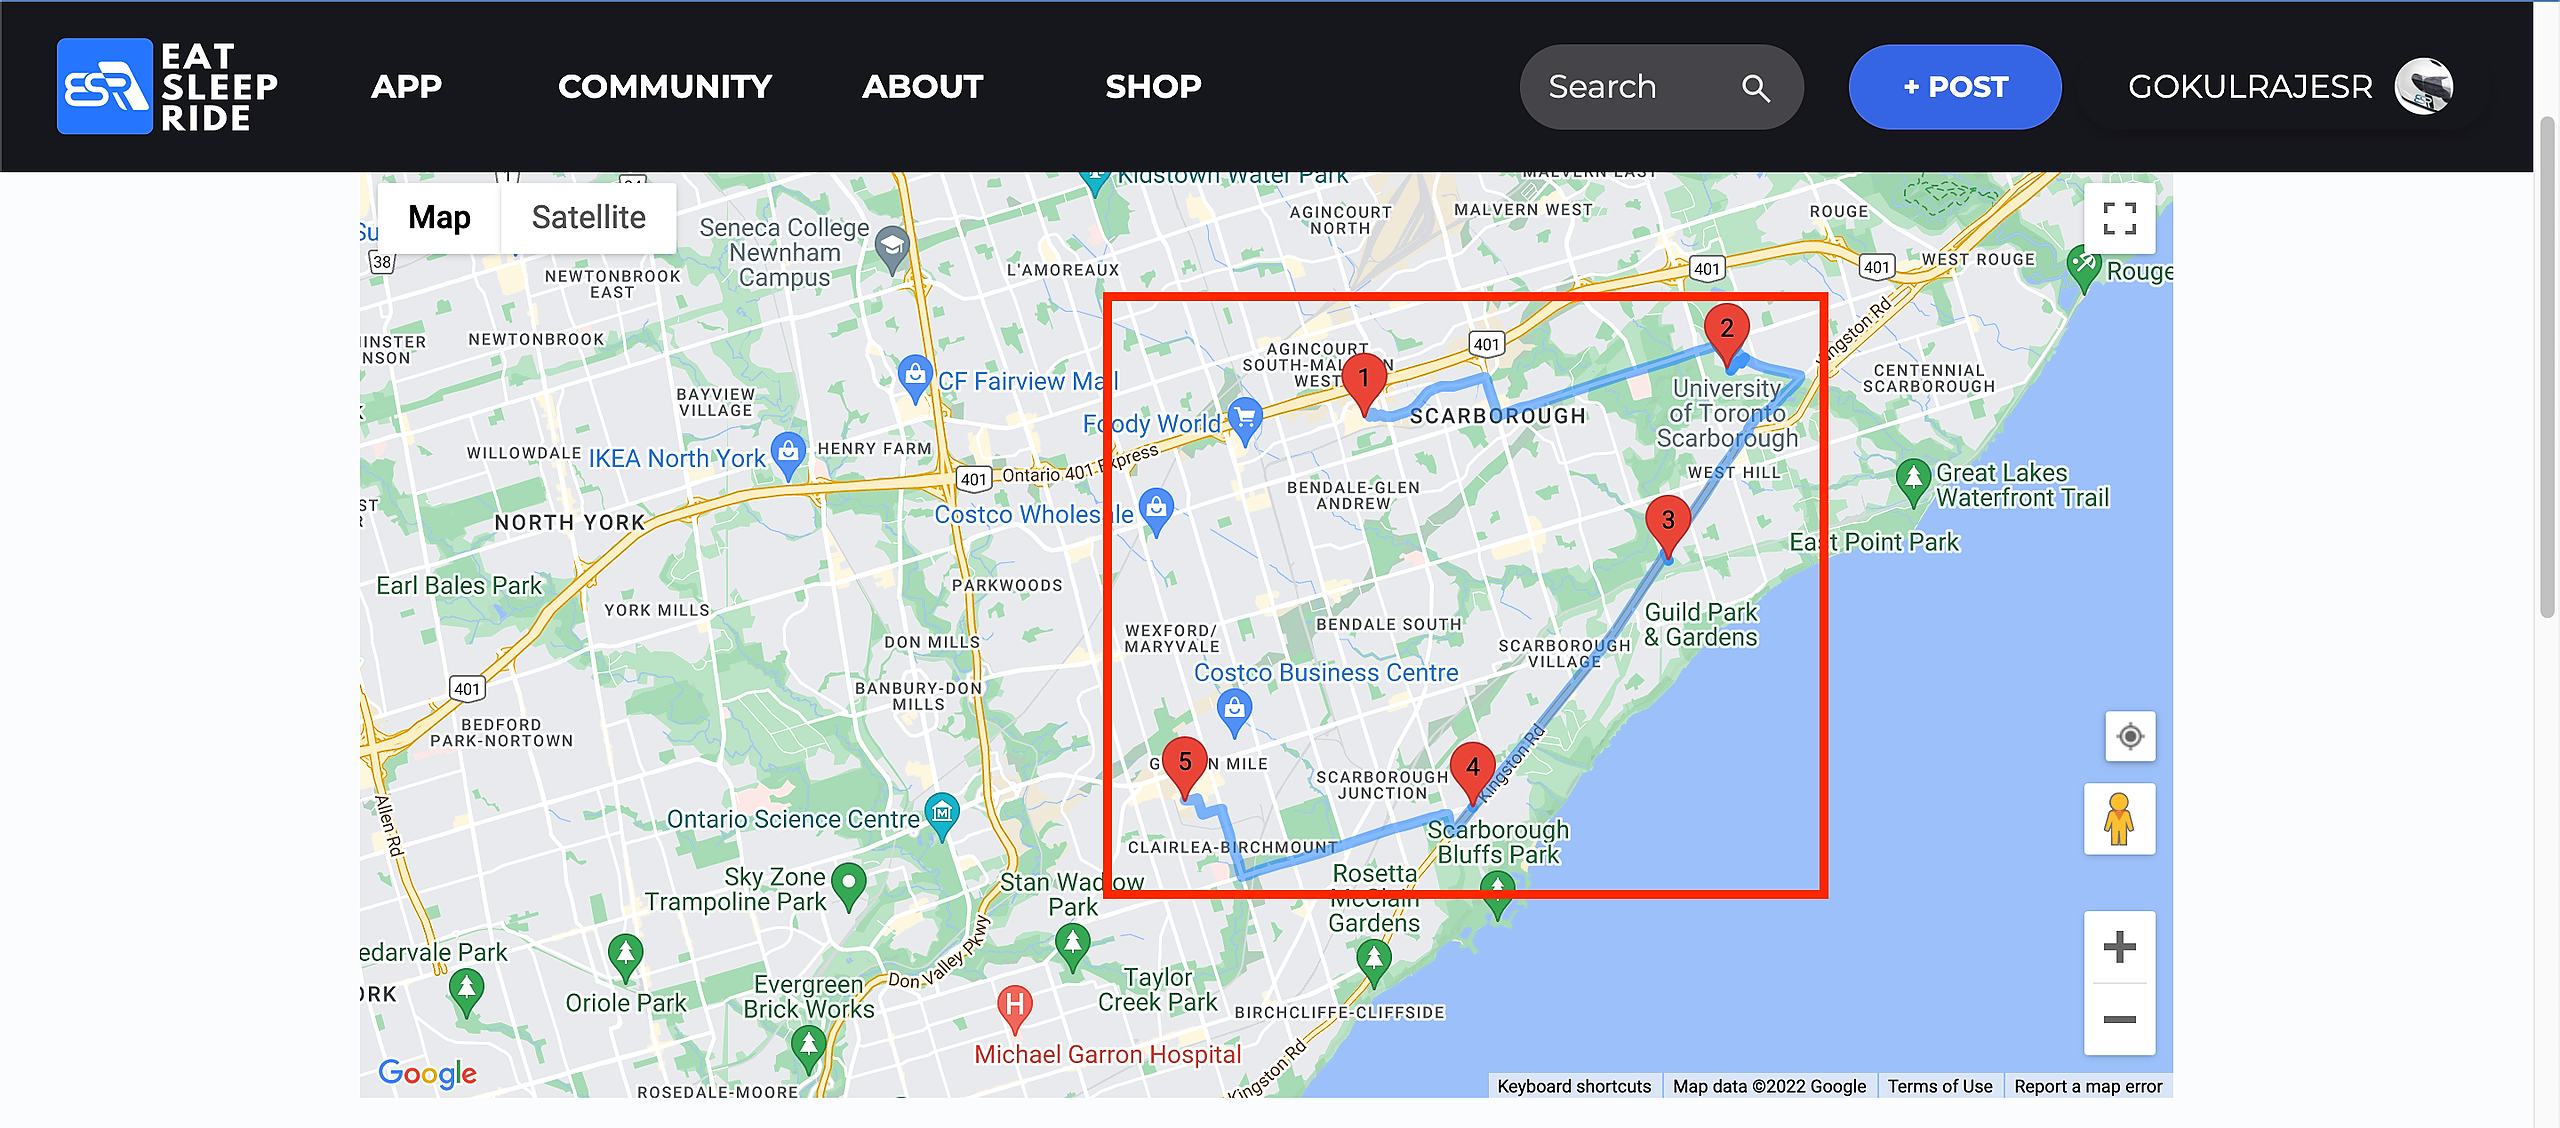
In order to add more points, you can either click where you want them on the map or type another spot into the "Search by Address" search box. Doing so will create what we call a polyline, which indicates the way to get between the marked points.

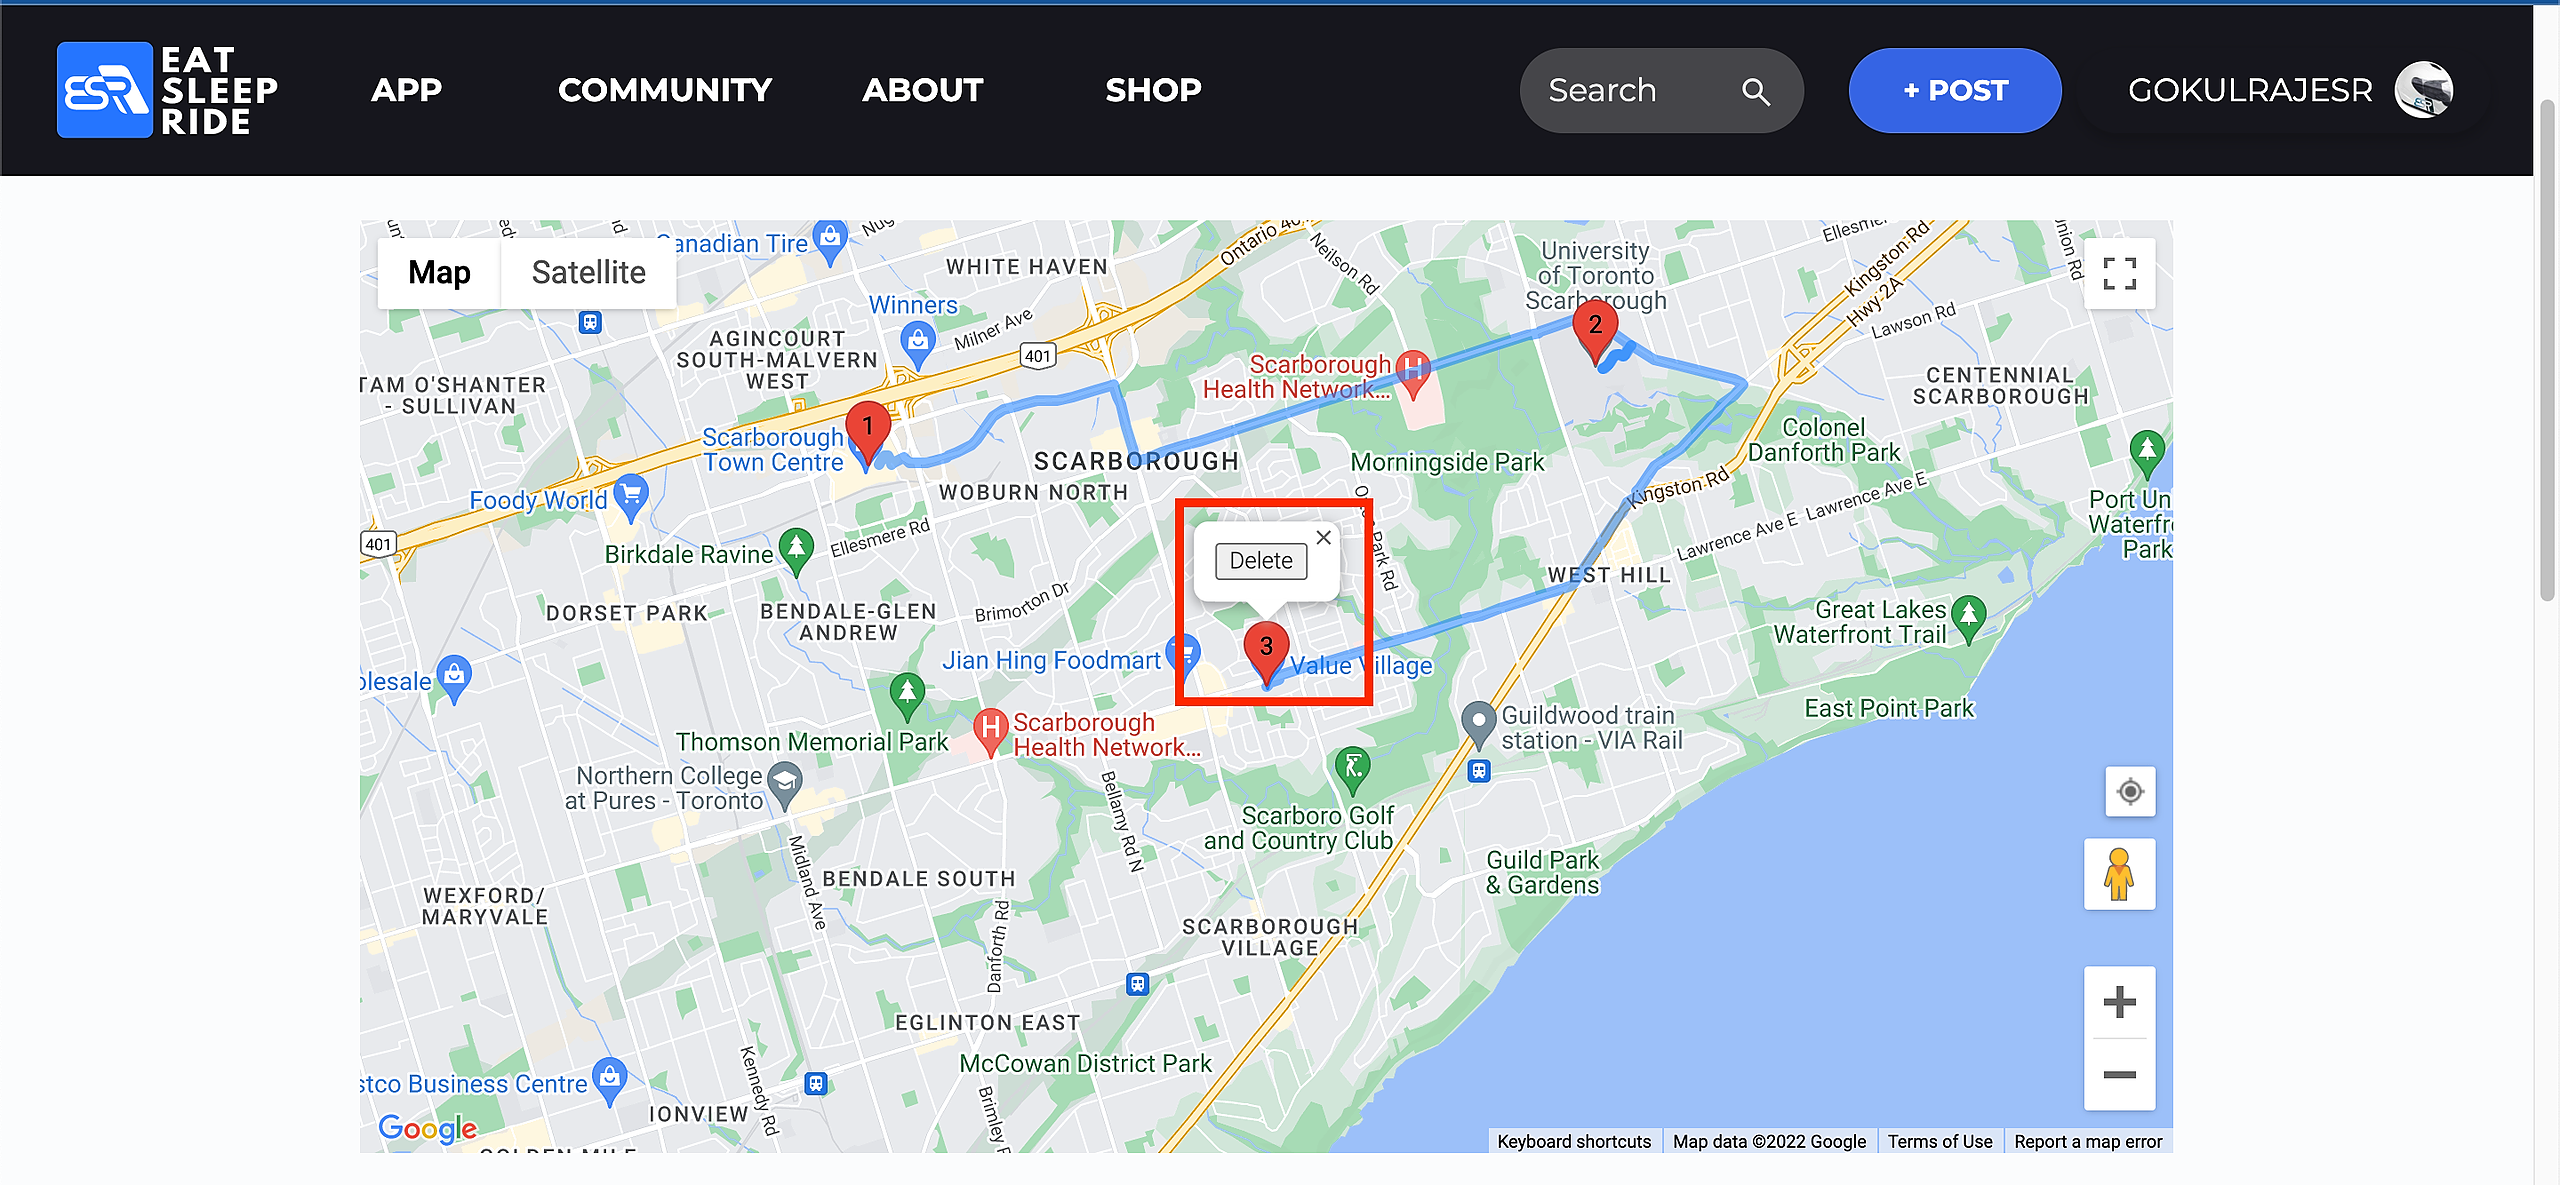
Make sure to add points in order. If a point is in the wrong place, simply click on the marker and a delete button will appear above it. Clicking this button will remove the point.
Every time your Route changes roads, put a point on that corner. Sometimes the map won't choose the exact route you took, as it optimizes for the fastest possible Route and not necessarily the most interesting Route. If this happens, add more points along the Route to keep it going exactly the way you want it to.
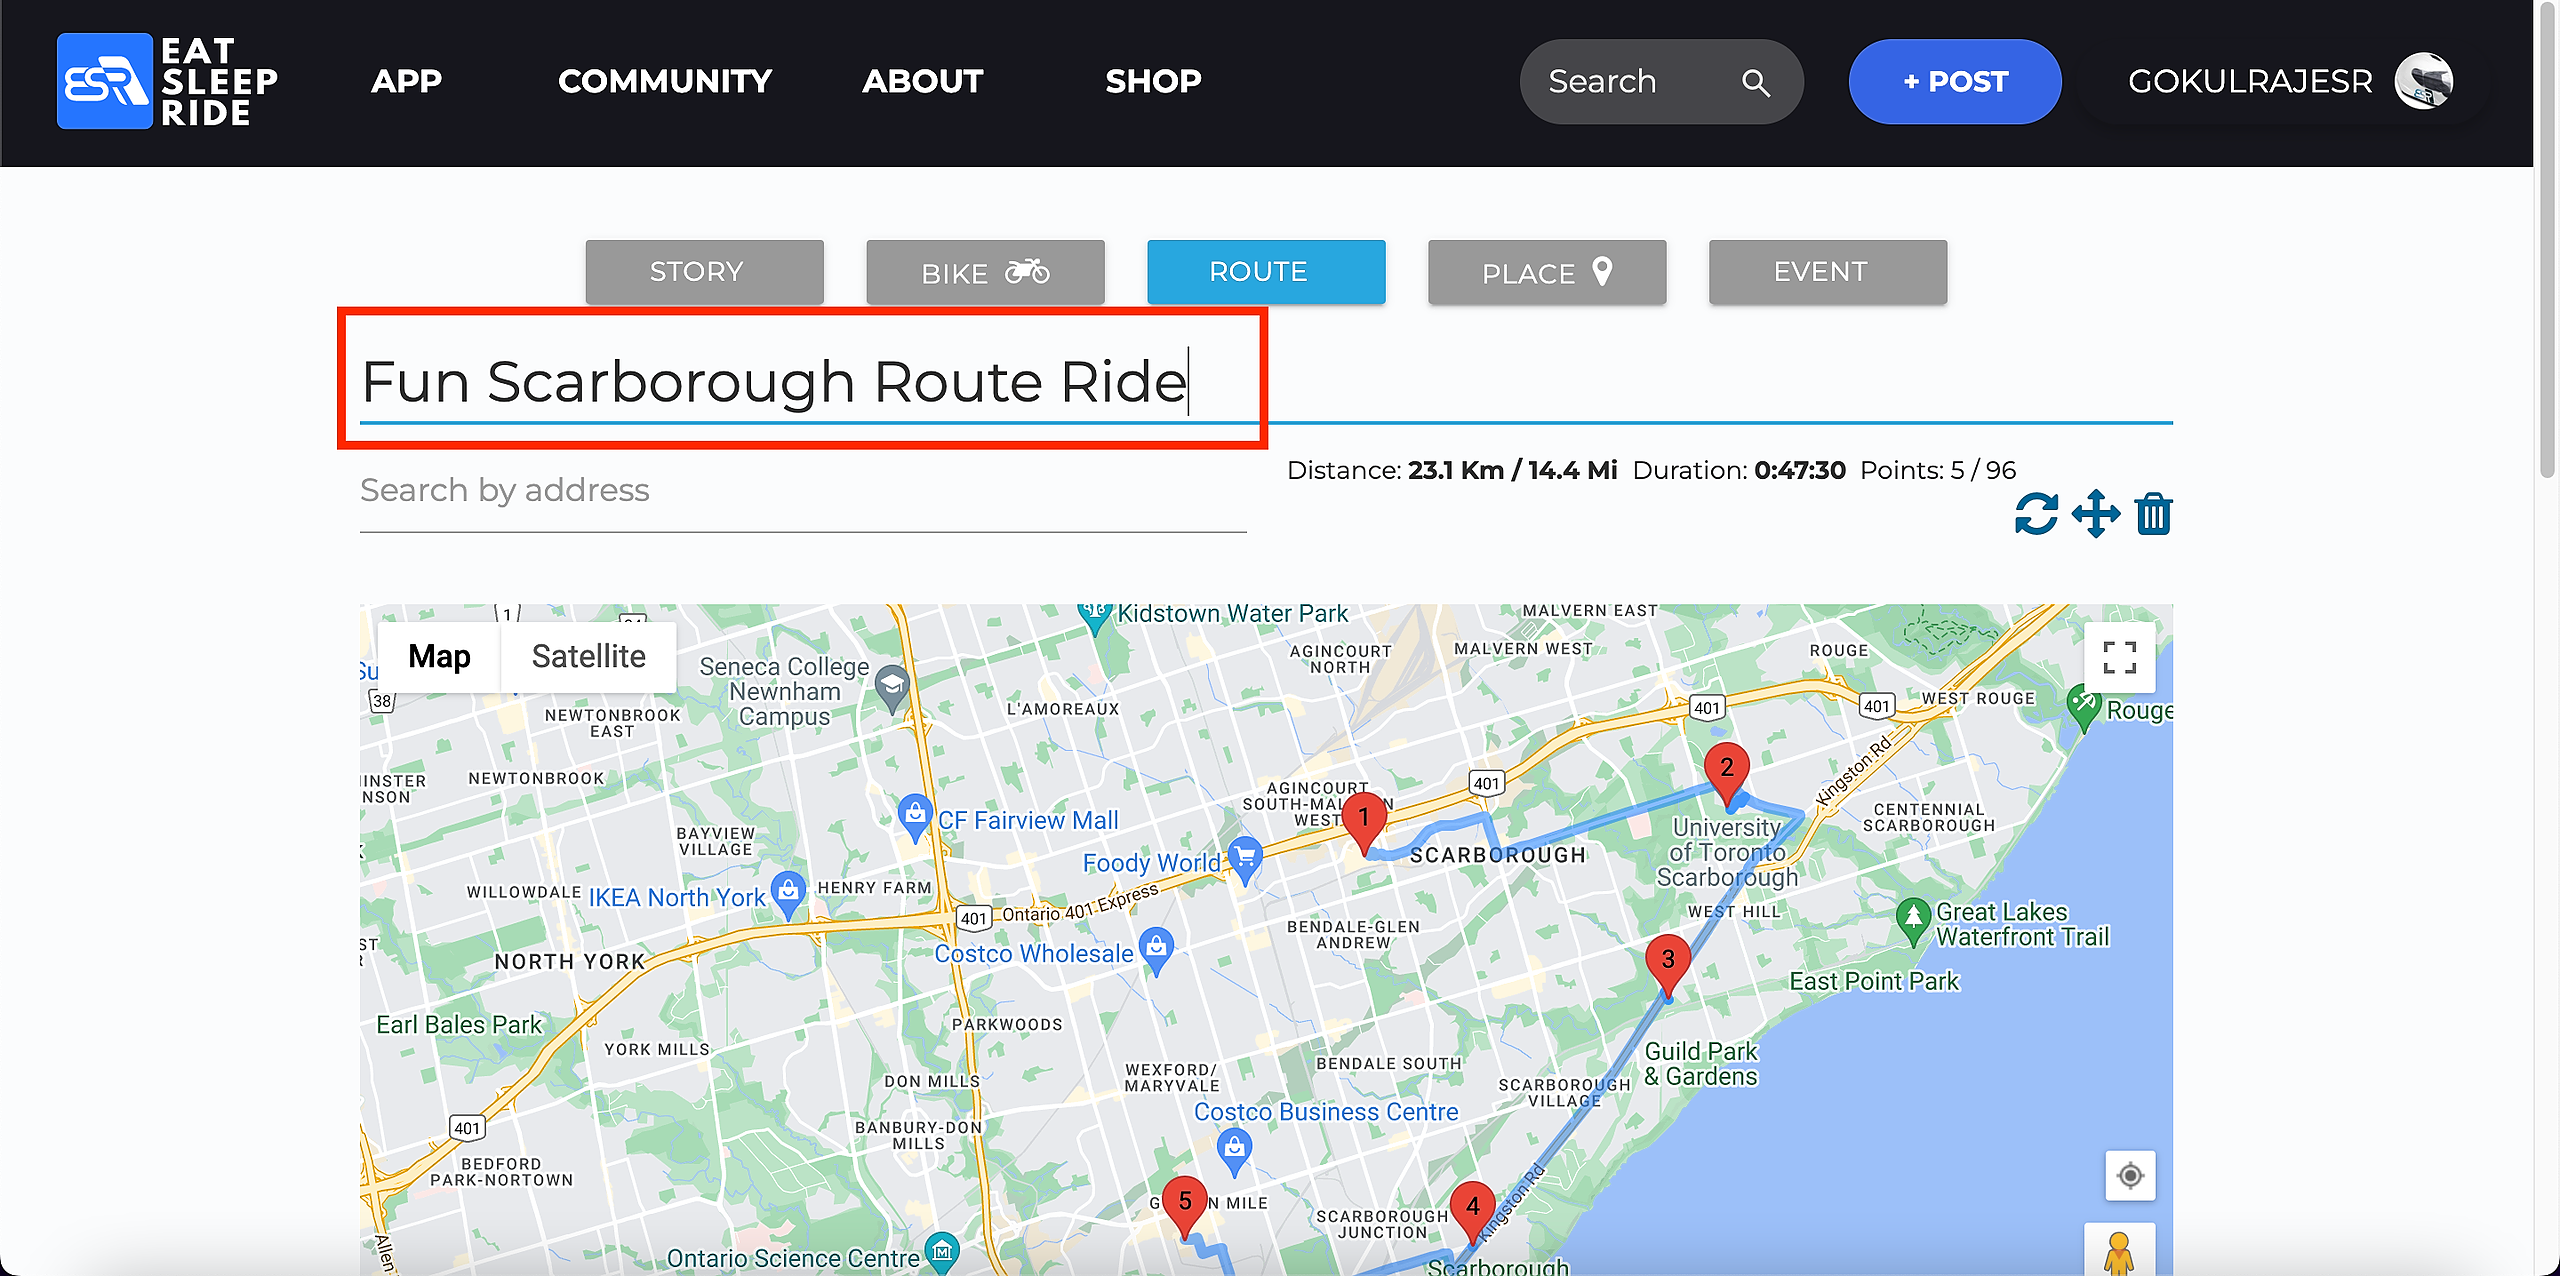
Once you've finished inputting your Route onto the map, now it's time for a title and description. The title box is just above the map.
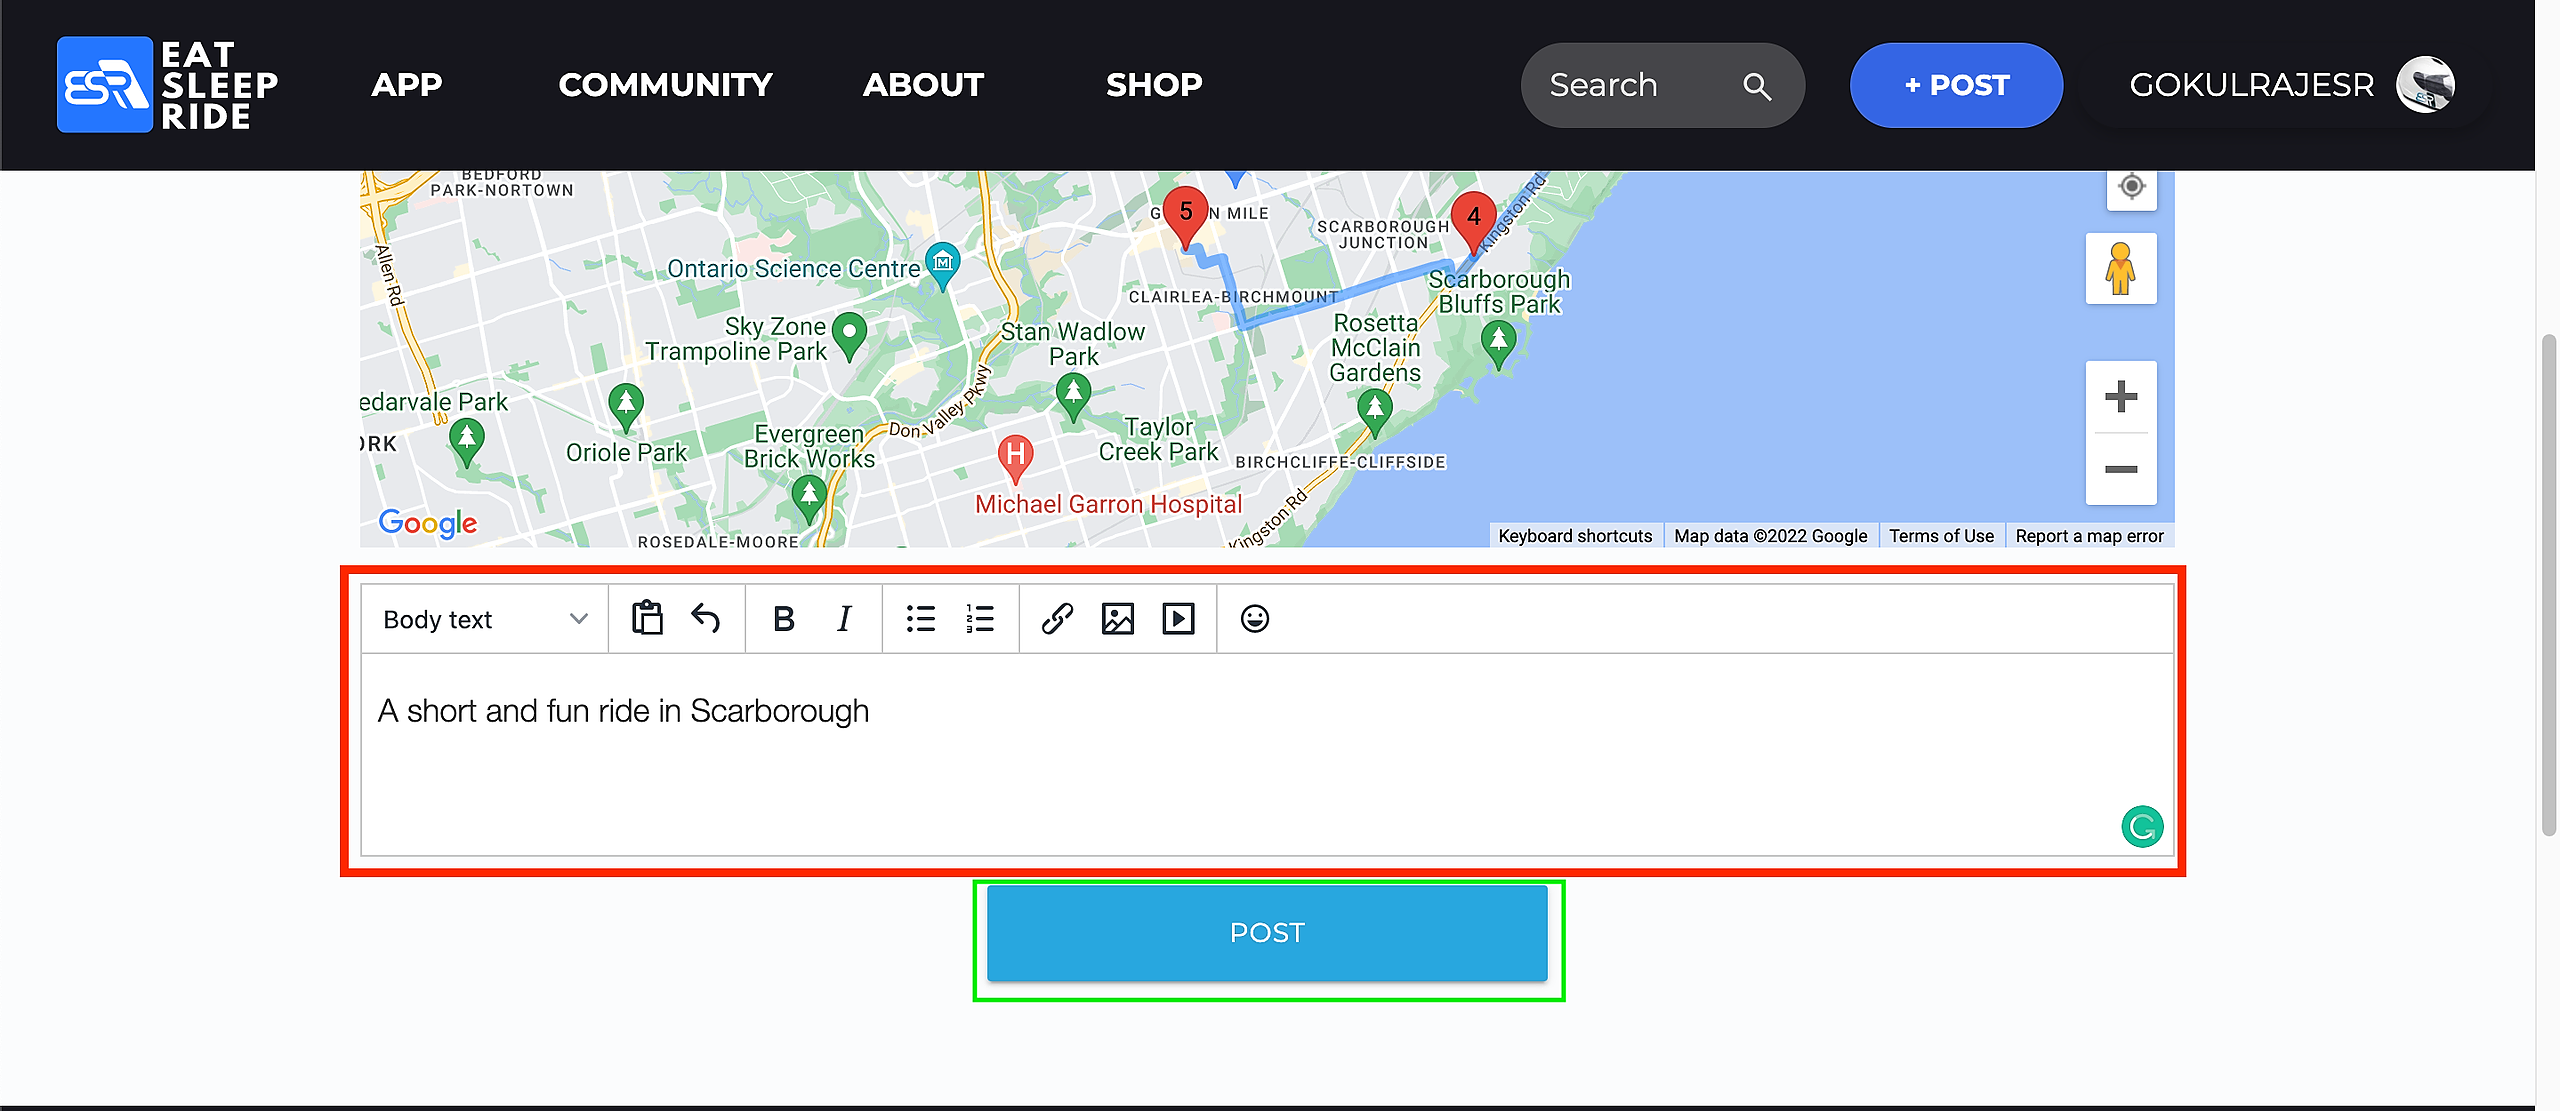
Once you've got a title, add a description of the Route to let people know why it's a good Route to ride. Once it's all finished hit the big blue post button and show the Route to the world!
Now the Route is published! It will appear on your profile under your posts and is there for the world to see. If you want to let more people see the Route on other platforms, there are social media icons underneath the title of the Route. Try sharing your Route around to get more people to see it and ride a great ride.

If you have any other questions, contact support by email or reach us on Twitter @EatSleepRide or on Instagram @EatSleepRideapp